IKEA Play Kitchen Makeover - Step by Step Guide!
I wanted to do something extra special for Aubs 1st birthday, and when I saw this idea, I thought ‘AMAZING, I’m so doing that for Aubs!’. I loved the fact that she’d be able to play in her own little kitchen for years to come, yet I wanted to put a unique spin on it to make it that little bit more special!
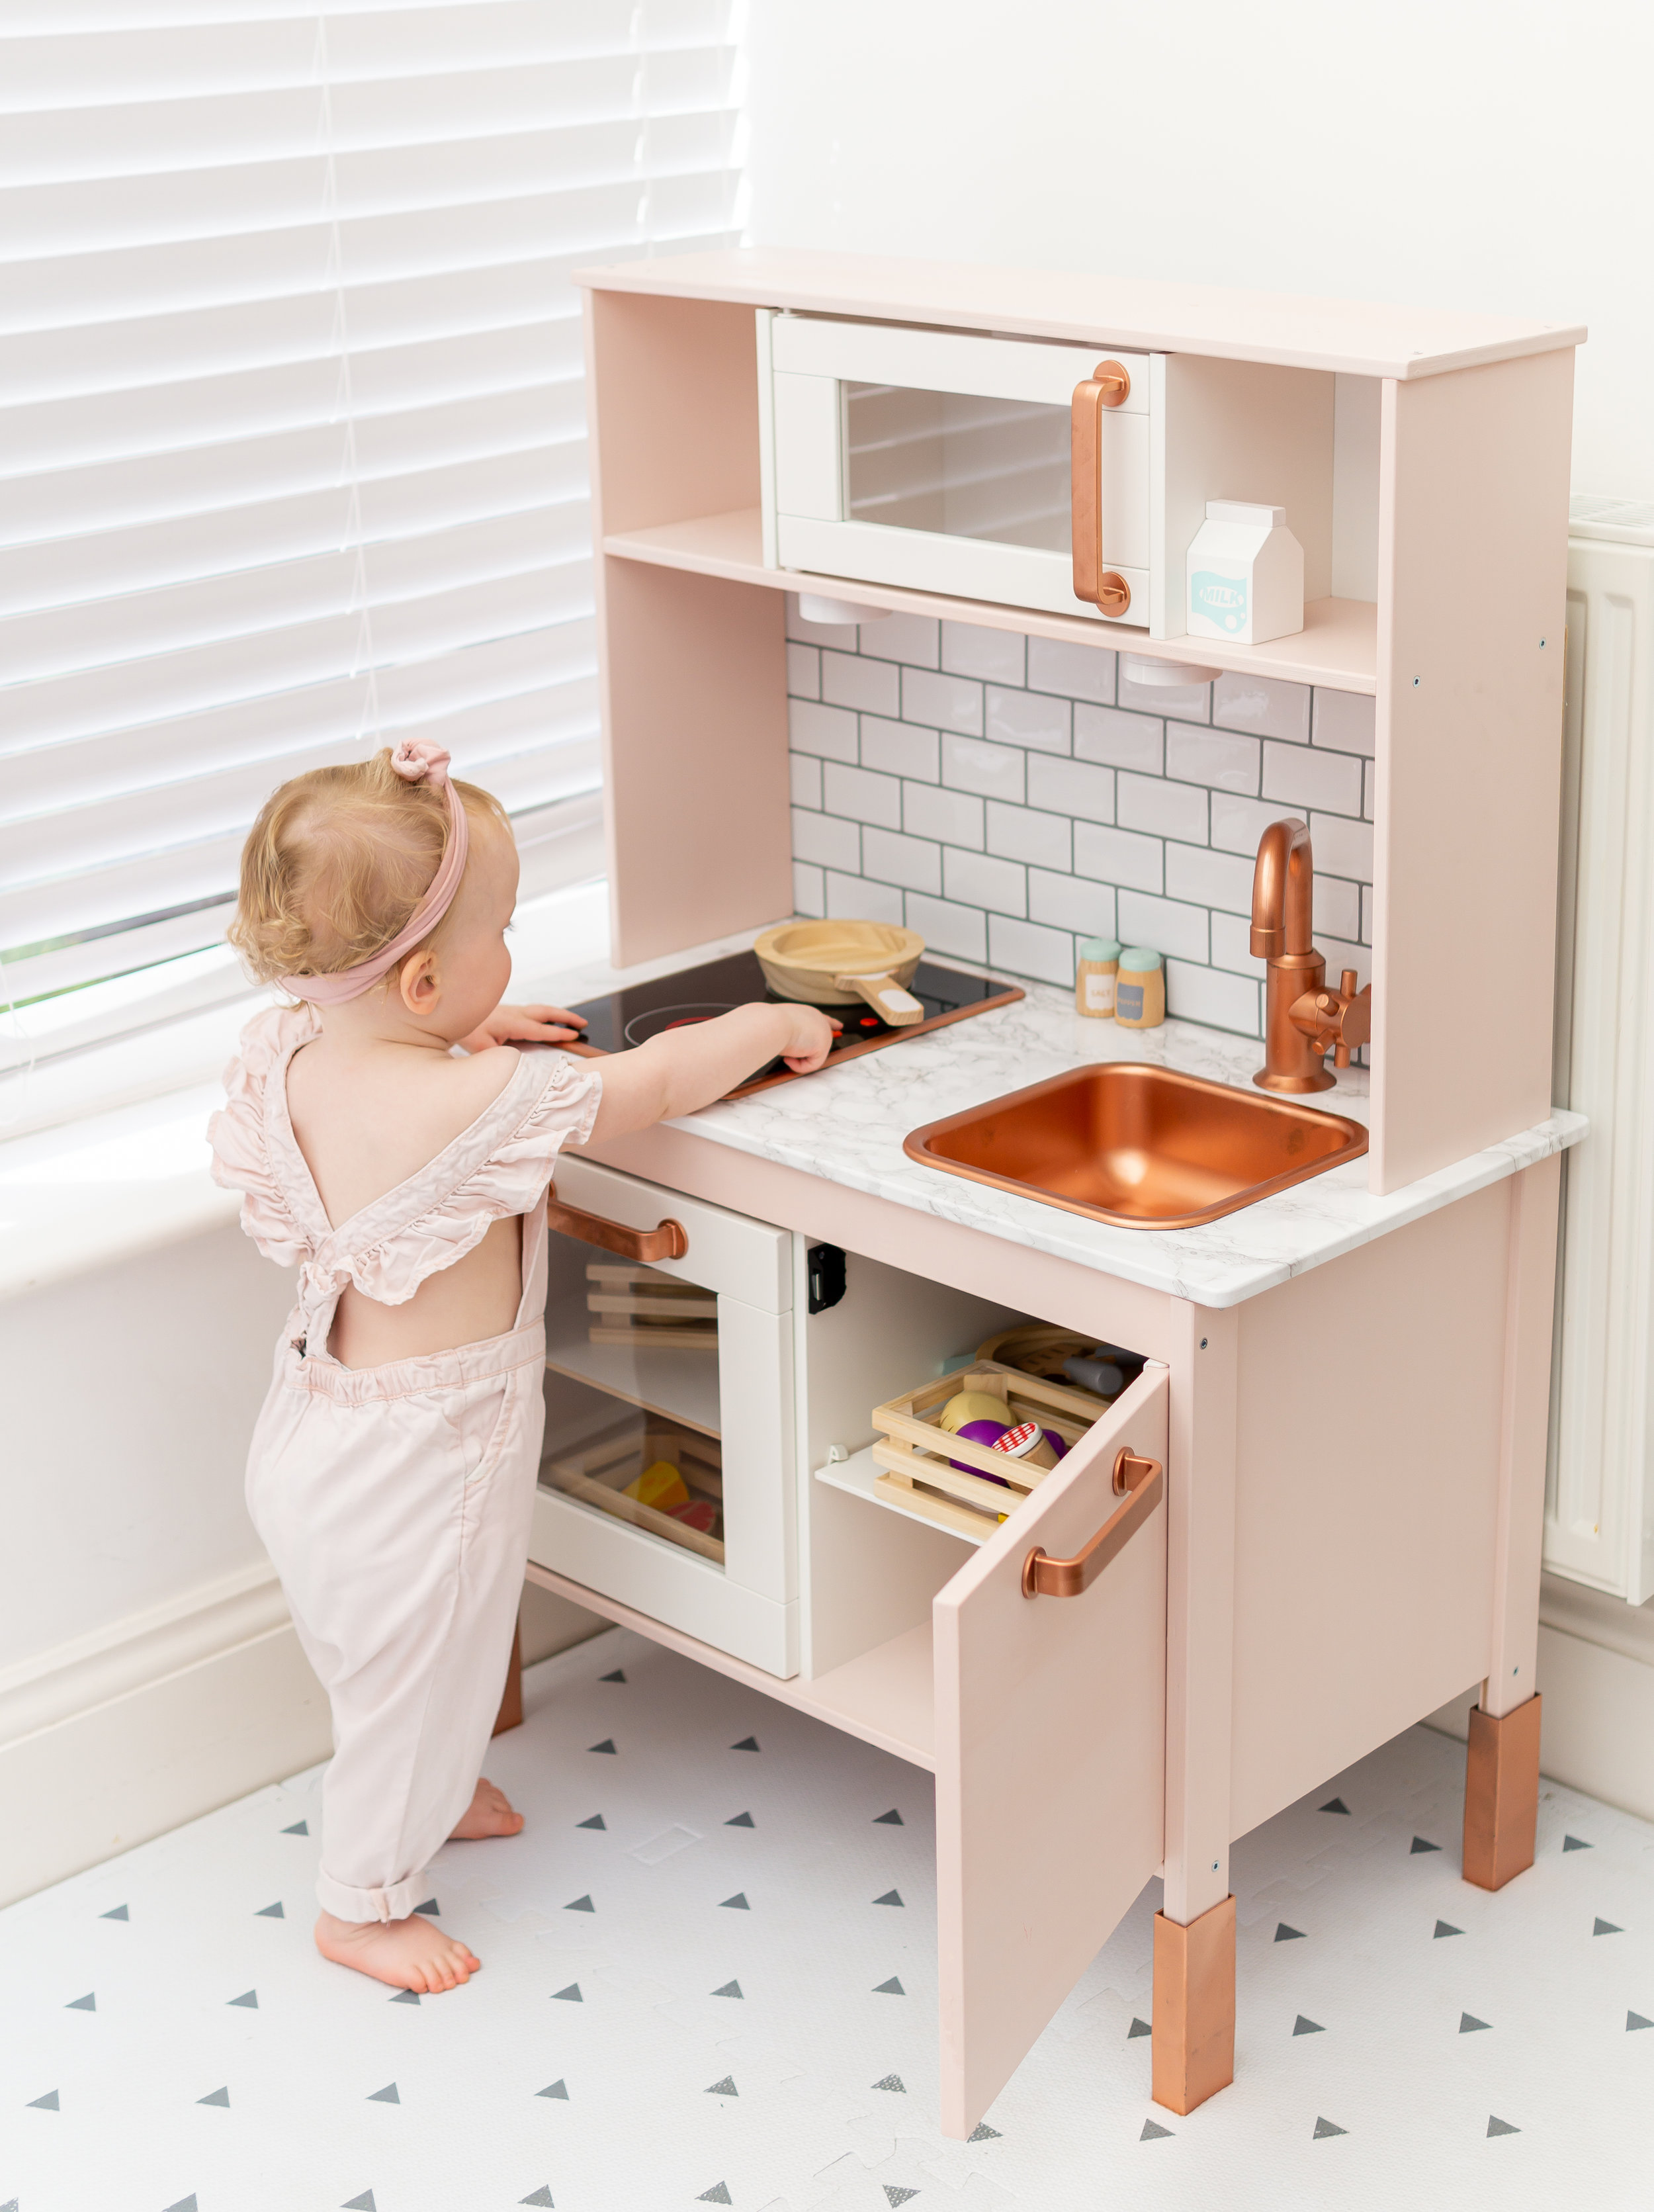
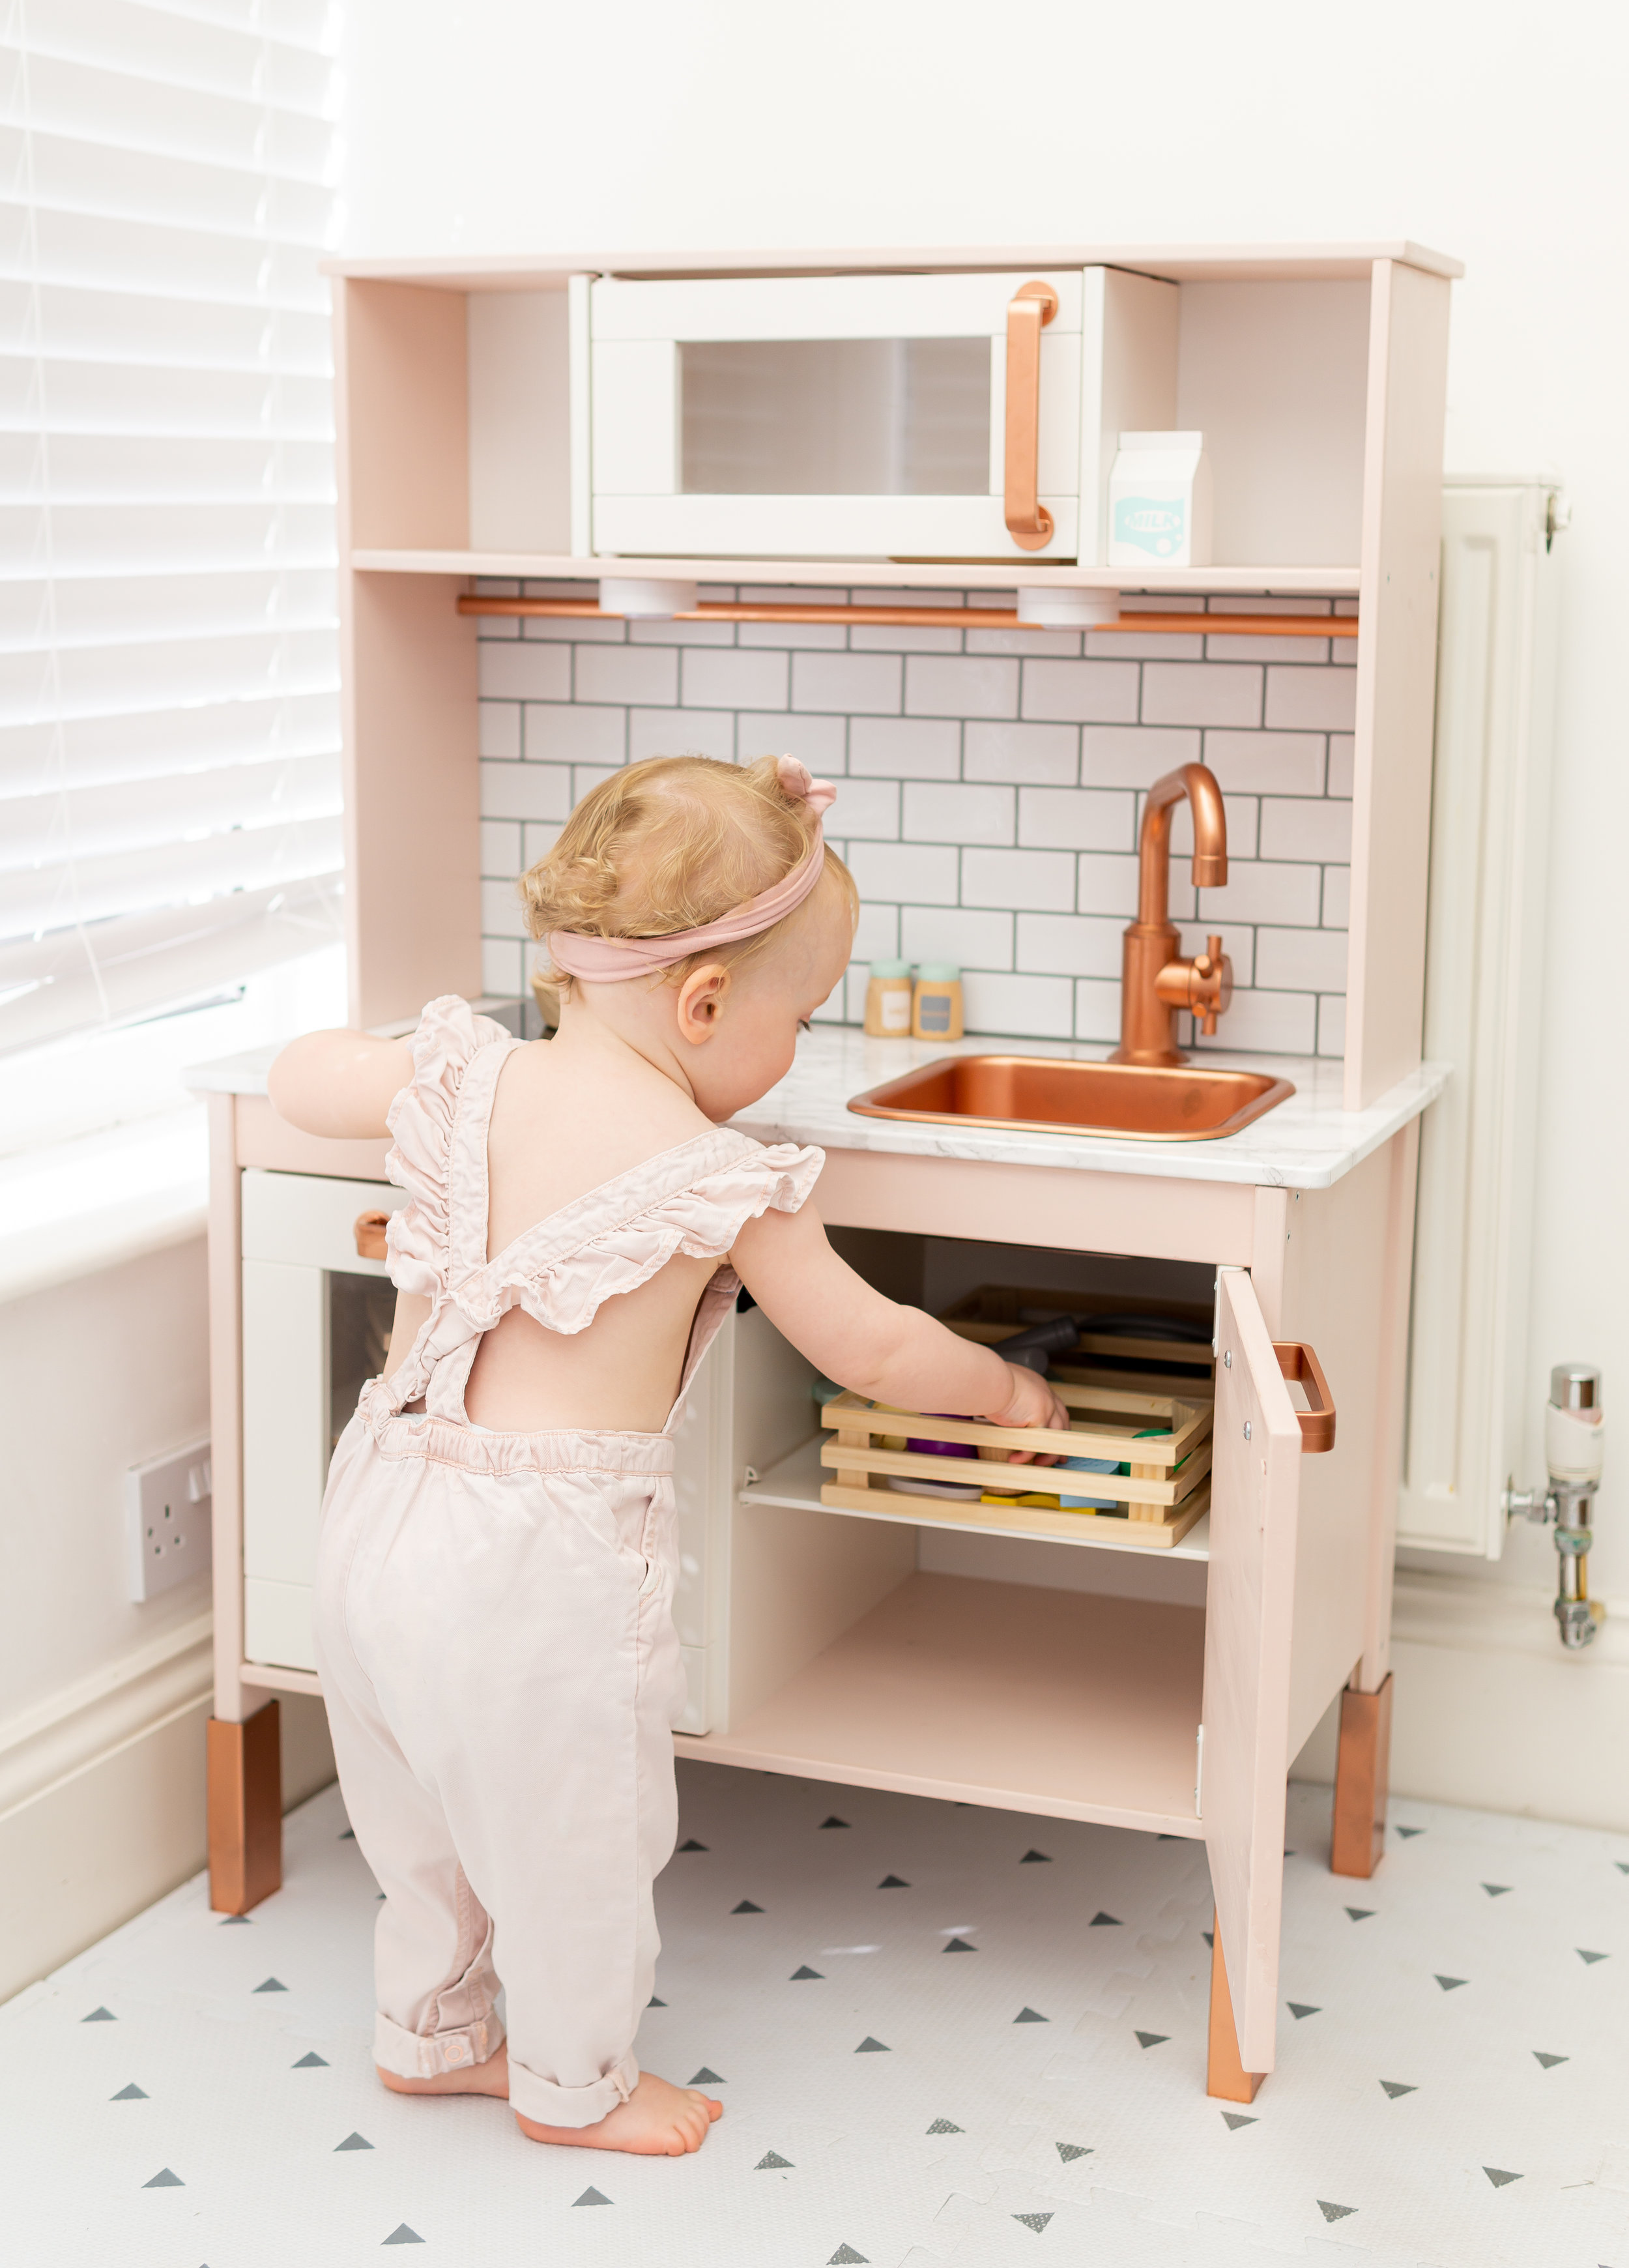
I can’t even believe how amazing it turned out. It’s honestly adorable - I couldn’t be happier with it! Oh, and of course the main thing - it’s been a huge hit with Aubs, she loves it! A dusky pink play kitchen with a rose gold trim for our special little chef in the making.
With so many of you following our play kitchen makeover over on Instagram, I’ve popped together a ‘6 step guide’ of what we did, including the products we used, and top tips I gathered along the way to help you create your very own bespoke play kitchen for your little one! I can’t wait to see your play kitchen makeover… be sure to tag me in your creations @hannahmummymills!
step 1. the BASE
I opted to use the IKEA Dugtik play kitchen as our base - I’m not going to lie, the real selling point for me was that the hobs light up! I thought Aubs will love these little buttons and lights, and my assumption was correct. So one online order later, and we had ourself a pretty plain looking base to build on. BUY IT HERE.
step 2. SAND & PAINT
The first step was to sand down the panels of wood that we were going to paint, to prepare the wood so that the paint would take to it better. We used this sandpaper with a 180 grit finish and did this by hand. Tip: sand outside and catch the sandings in the cardboard box the IKEA Dugtik comes in. BUY IT HERE.
For the paint, I wanted a dusky pink shade, with a matt finish, yet also one that was safe to use on toys. I found this GoodHome Ikoma Flat matt Furniture paint just beautiful - plus it’s self-priming meaning less preparation time . We applied two coats, and felt that was more than enough - leaving the two cupboard doors with windows white. We bought a 500ml pot of paint and had extra left over. Tip: apply to clean/dry wood. BUY IT HERE.
step 3. SPRAY PAINT
For the hob, sink, tap, cupboard handles, hanging rail and hooks, I used Rust-Oleum Metallic Brilliant Finish in Bright Copper (which to me looked more rose gold than the rose gold one did - that was more baby pink I thought) and it came out amazing! Before spraying the hobs, I covered the top of the hob with masking tape to spray paint just the edging (see image below). We applied two coats, and sprayed it all outside on top of the play kitchen packaging. BUY IT HERE.
To seal and protect, I then used Rust-Oleum Crystal Clear Protective Coat in Clear Gloss Finish which gave it a really shiny finish! I applied just one coat. BUY IT HERE.

step 4. marble up the worktop
This was slightly fiddly, but a tip one of my fabulous followers gave me worked a treat, so read on and stay with me, as I definitely feel like applying this grey marble self-adhesive vinyl film to the worktop majorly transformed the overall look of the play kitchen! BUY IT HERE.
The first step, cut out a piece of self-adhesive with a 2-3 inch overhang around the edge. Starting at one end, peel back the underside, and stick the laminate to the worktop completely covering both the gap where the hob and sink will go. Tip: I bought this self-adhesive application set that included a smoother for a flawless finish (helps to get rid of any pesky air bubbles) and a craft knife for easy cutting, and I’m so glad I did! BUY IT HERE.
Then came the fiddly part… to help you get smooth corners without the self-adhesive creasing/bunching up on the side of the worktop, carefully use a hairdryer to heat the top side of the self-adhesive for a few seconds, and then stretch and wrap it around the corner. If possible, grab someone to help you - one of you heat, and the other stretch and stick, as this has to be done pretty quickly. Do this for each corner, sticking the laminate down around the worktop edges as you go.
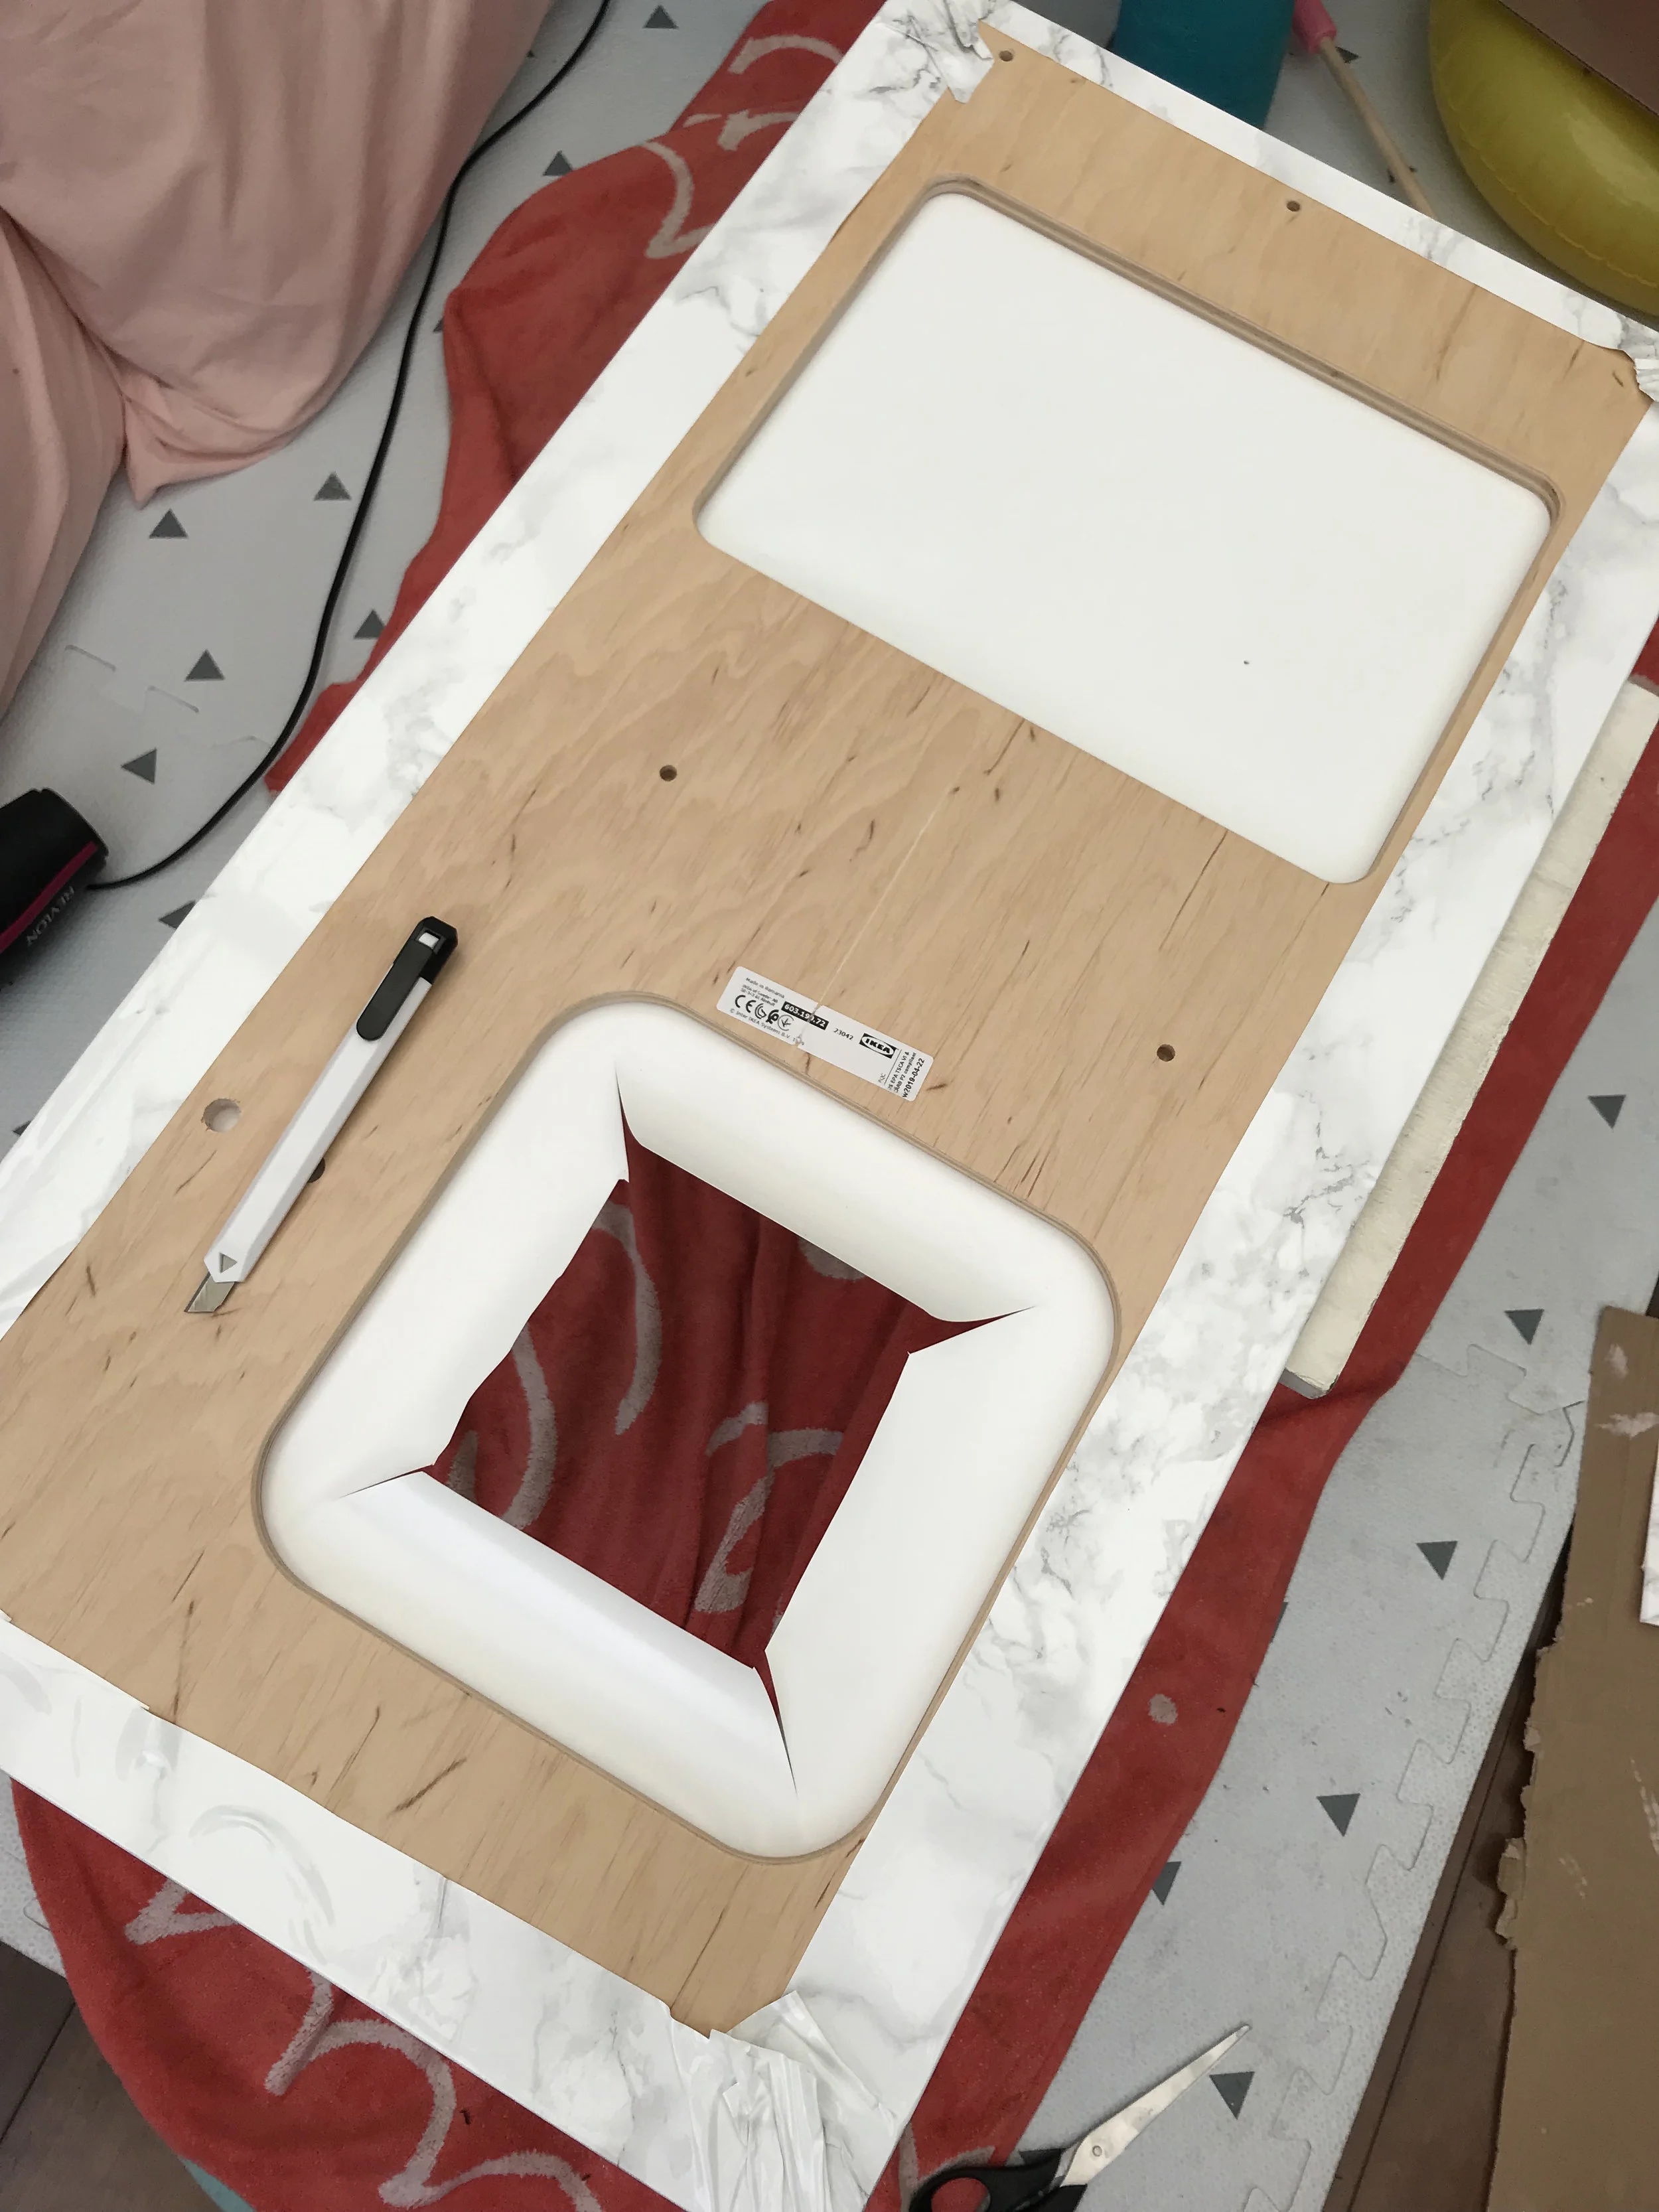
Once all corners and edges are complete, turn over the worktop and with your craft knife, carefully cut out a square/rectangle in the gaps where the hob and sink will go, leaving an approx 2 inch overhang from the edge. In each corner, make a slit (see image below), and then use the hairdryer again to stick the laminate around the edges as you did before.
step 5. add the tiled splashback
I thought it looked amazing already, but this step really did take the play kitchen to a whole other level! I picked up a piece of plywood from B&Q, and asked them to cut out a piece to fit (approx 67.5cm width by 31.5cm height). I then used these Self Adhesive Tiles in White-Grey and stuck them on - it was super simple to do, and looked so effective! BUY THEM HERE.
Once complete, assemble the play kitchen using the instructions provided, and then attach the splashback to the back of the play kitchen with framing nails (you can pick these up in most hardware stores). Mind your fingers!
step 6. accessorise and kit it out
You can get creative and have fun here, adding on some finishing touches that will really bring your play kitchen to life! I opted to add these under cabinet wireless lights. They’re battery operated and look super cute! I added two beneath the cabinet and one in the top middle cupboard as if it was a mini microwave. BUY THEM HERE.
Next we got this old school white phone to add to the left hand side of the play kitchen, which she loves! BUY IT HERE.
Then I kitted it out with gorgeous wooden food sets and a cooking set from George at Asda. I ordered two wooden food ones; a core groceries set and a meat and vege set. They came in super wooden boxes that Aubs loves playing with and stacking too, and they’re great for storing the food inside the play kitchen cupboards. I then ordered this wooden cooking set that came with pans, plates, cutlery and utensils - perfect for a play kitchen! As well as these IKEA Duktig Kitchen Utensils. BUY THEM HERE.
And voila, your play kitchen is complete!

I absolutely loved my very first upcycle project. It was so much fun to create, and seeing Aubs’ little face on her 1st birthday was just the best! She’s played with it every single day since.
I hope I’ve inspired you to upcycle your own IKEA Duktig - please do tag me in your own play kitchen photos on Instagram @hannahmummymills - I can’t wait to see what colour scheme you go for! and a special thank you to @darling_mama_ for inspiring me to do this!
Your shopping list…
Rust-Oleum Crystal Clear Protective Coat in Clear Gloss Finish
piece of plywood and framing nails from a hardware store
Food/cooking sets:
tag me in your play kitchen creations @hannahmummymills !
*This post contains affiliate links.
Photography: Compton Harry